

Making your own glitter baubles is a fun and creative way to add a personalized and festive touch to your holiday decor, whether you're using a Cricut, Silhouette, Brother Scan-N-Cut, or any other plotter machine. These sparkling ornaments not only brighten up your Christmas tree but also make for charming, handmade gifts that spread the joy of the season. Whether you're an experienced crafter or just looking for a fun DIY project, crafting glitter baubles allows you to unleash your creativity and experiment with various colors, styles, and decorative elements. In this tutorial, we'll walk you through the step-by-step process of creating your own glitter baubles, ensuring that your holiday season shines with a unique and glittering charm.
Materials You'll Need:
- Clear plastic shatterproof baubles
- Cabot's Water-Based Polyurethane (available at Bunnings)
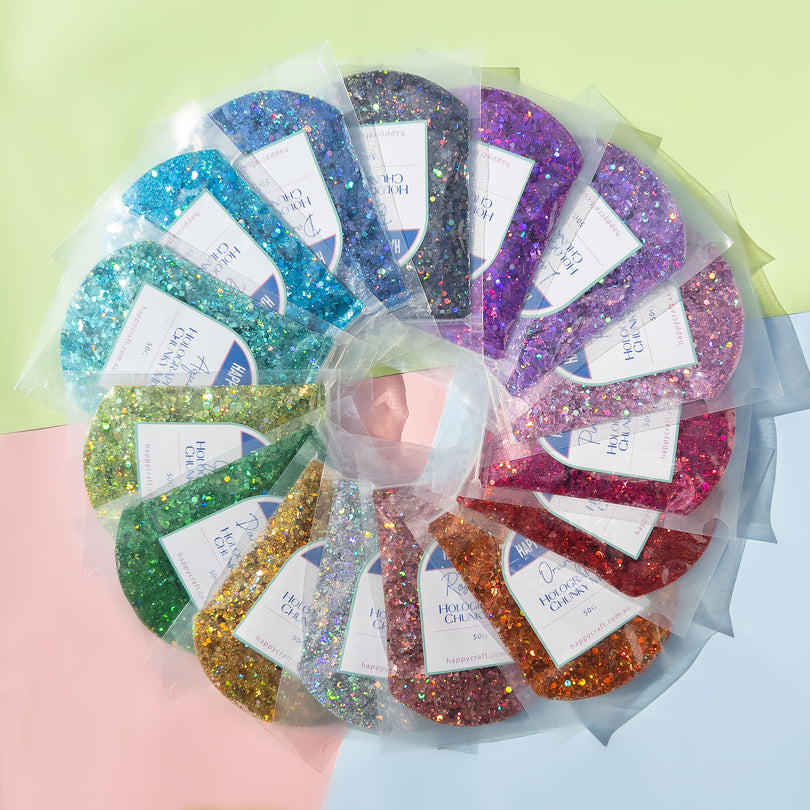
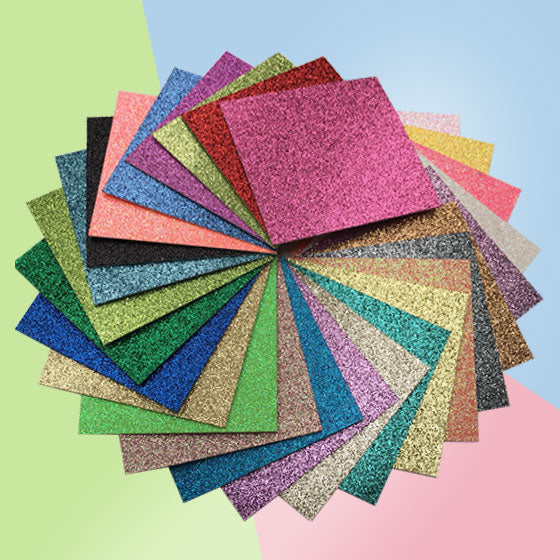
- Premium glitter in various colors (fine glitter works best)
- 10mm Syringe (available at chemists)
- Disposable cup or container (cheap disposable plastic cups)
- A funnel
- Ribbon and/or other embellishments
- Protective gloves (optional)
- Newspaper or a drop cloth (to protect your workspace) and paper towel
- ORACAL or Opulent Specialty adhesive vinyl to cut on your Cricut, Silhouette, Brother Scan-N-Cut, or any other plotter machine
Step-by-Step Instructions:
Step 1: Set Up Your Workspace Lay down some newspaper or a drop cloth to protect your workspace from any glitter or Polyurethane spills. If desired, wear protective gloves to keep your hands clean.
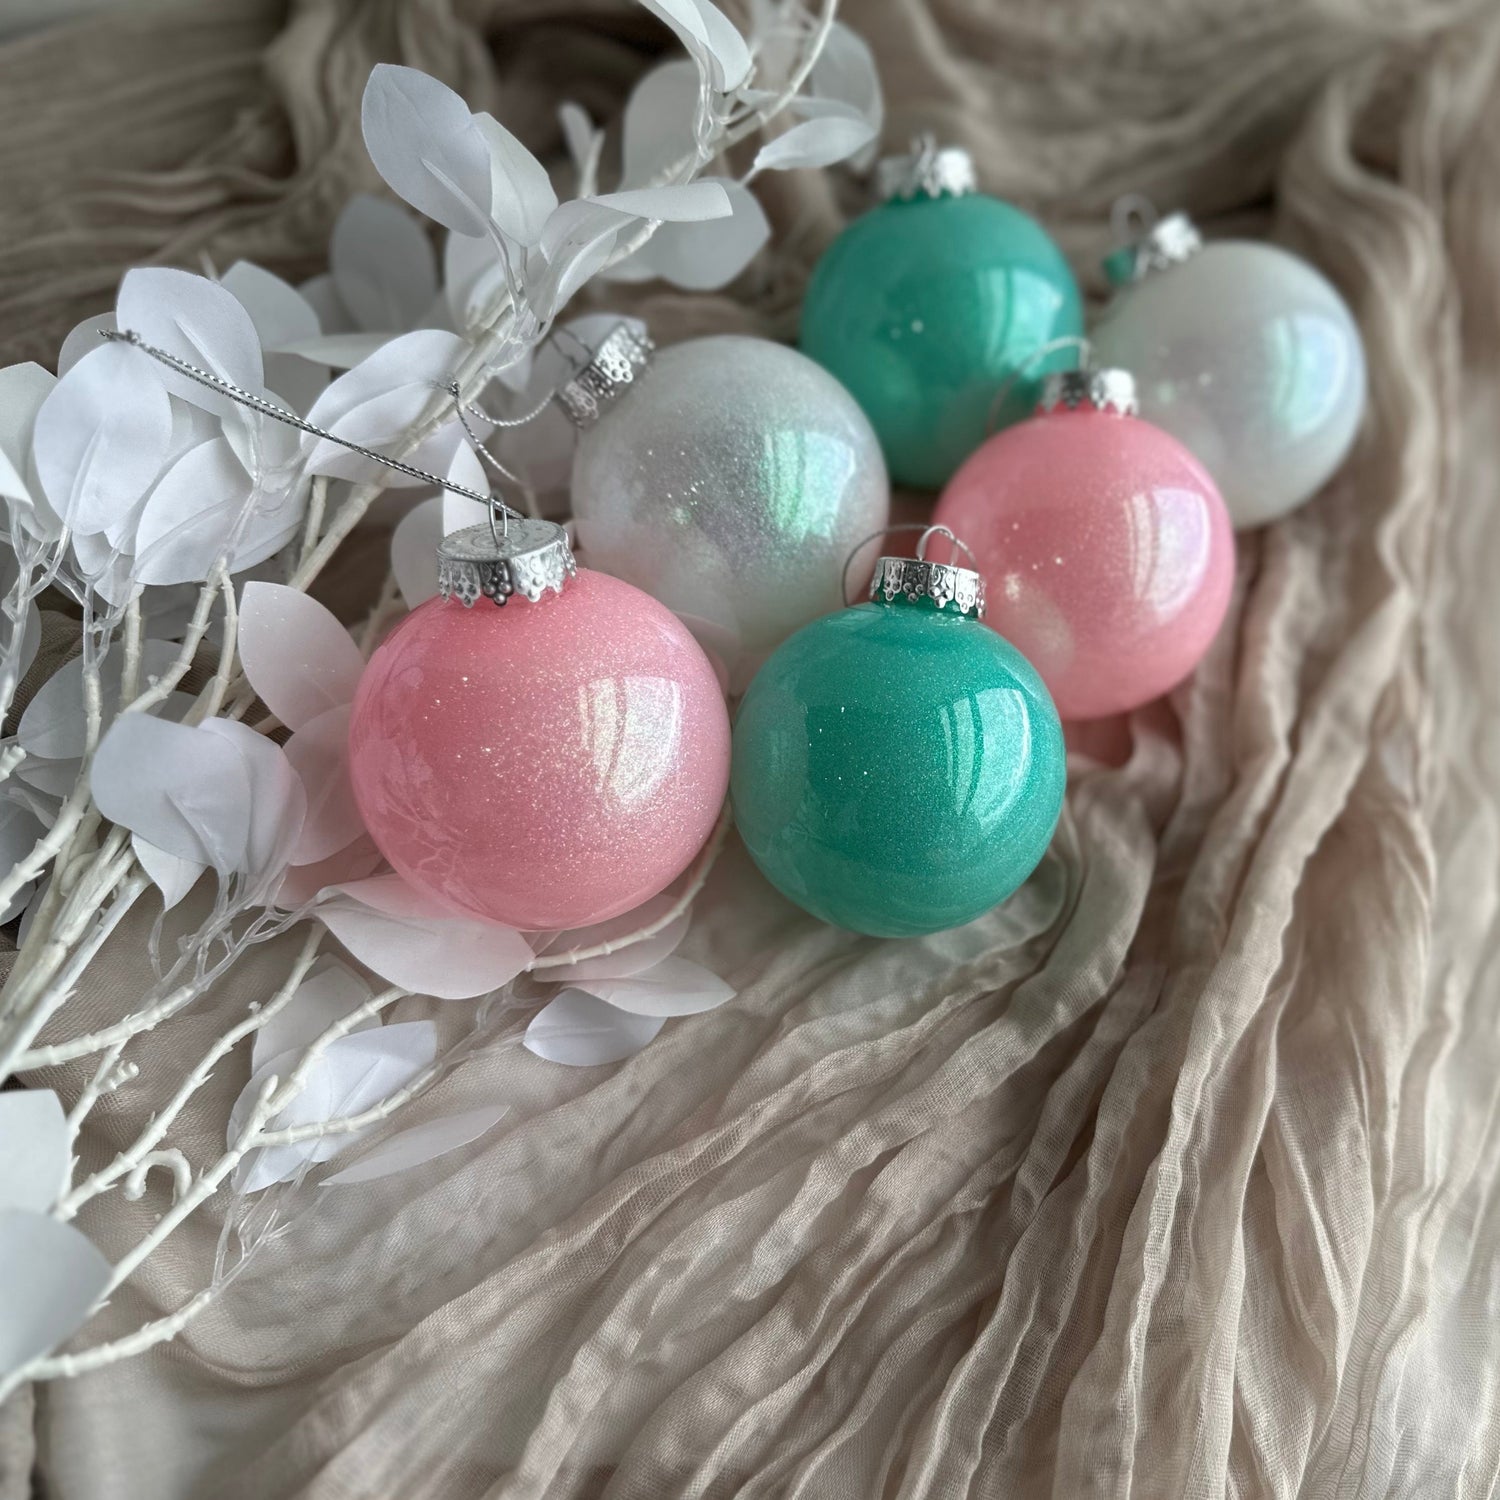
Step 2: Choose Your Glitter and Baubles Select your favorite glitter colors and the clear baubles you'd like to decorate. Mix and match glitter colors for a unique and festive look. Remember to use a premium glitter as cheaper glitters will fade and dis-colour over time.
Step 3: Open Your Polyurethane and Fill Your Syringe Firstly, ensure your Polyurethane is the water-based version (it will not work with the oil-based version!!). Begin by opening the Polyurethane tin and thoroughly stirring it to ensure proper mixing. Next, use your syringe to carefully draw and load it until it is full.
Step 4: Fill Your Baubles with Polyurethane Now, insert the syringe into the bauble, making sure to reach the very bottom, and release the polyurethane slowly. Rushing this step will produce air bubbles and result in an uneven finish. Carefully empty all of the polyurethane into the bauble.
Step 5: Coat Your Bauble and Drain It Gently rotate the bauble in a circular motion to evenly coat it with the Polyurethane. Be sure to maintain a slow and deliberate pace to prevent the formation of bubbles. Your aim is to achieve a uniform milky-look coating across the interior surface of the bauble. After ensuring complete coverage, carefully allow the excess Polyurethane to flow back into the tin by holding the bauble upside down for a few seconds. Once most of the excess has been drained, position the bauble upside down over a cup, with the opening directed into the cup to catch any remaining drips.
Step 6: How Long To Leave Your Bauble to Drain? Determining the exact duration for allowing your bauble to drain is somewhat challenging, as it heavily hinges on your local climate conditions. However, you can often gauge it by monitoring both the frequency of drips and the appearance of the coating. When your Polyurethane goes from appearing milky to semi-transparent and the bauble has stopped consistently releases Polyurethane every few seconds, it's usually a good indication that it's ready for the glitter application. If you happen to notice some bubbles forming, don't fret – simply add a small amount of Polyurethane to the bottom of the bauble and move it to cover the bubble(s).
Step 7: Insert Your Glitter Now comes the fun part – time to ADD YOUR GLITTER! There's no precise rule for the amount of glitter to use, but I prefer to be generous, as any excess can be poured back into the container for reuse. So, pour your chosen glitter into the bauble (a funnel can be quite handy here), and cover the opening with a piece of paper or a paper towel. Shake the bauble gently to ensure the glitter spreads evenly across the interior, covering all the clear spaces. Once that's done, empty out any excess glitter and secure the bauble's lid. Repeat these steps for all the baubles you've previously coated with Polyurethane to prevent it from drying.
Step 8: Decorate/Personalise Your Bauble Use your cutting machine to personalise and adorn your bauble with a range of vinyl colors. Whether you want to add a name, baby feet, a dog paw, or any other design of your choice, the possibilities are endless. Enhance your bauble further by incorporating bows, sparkly diamantes, or any embellishments that match your creative vision. It's your chance to make it uniquely yours!
